

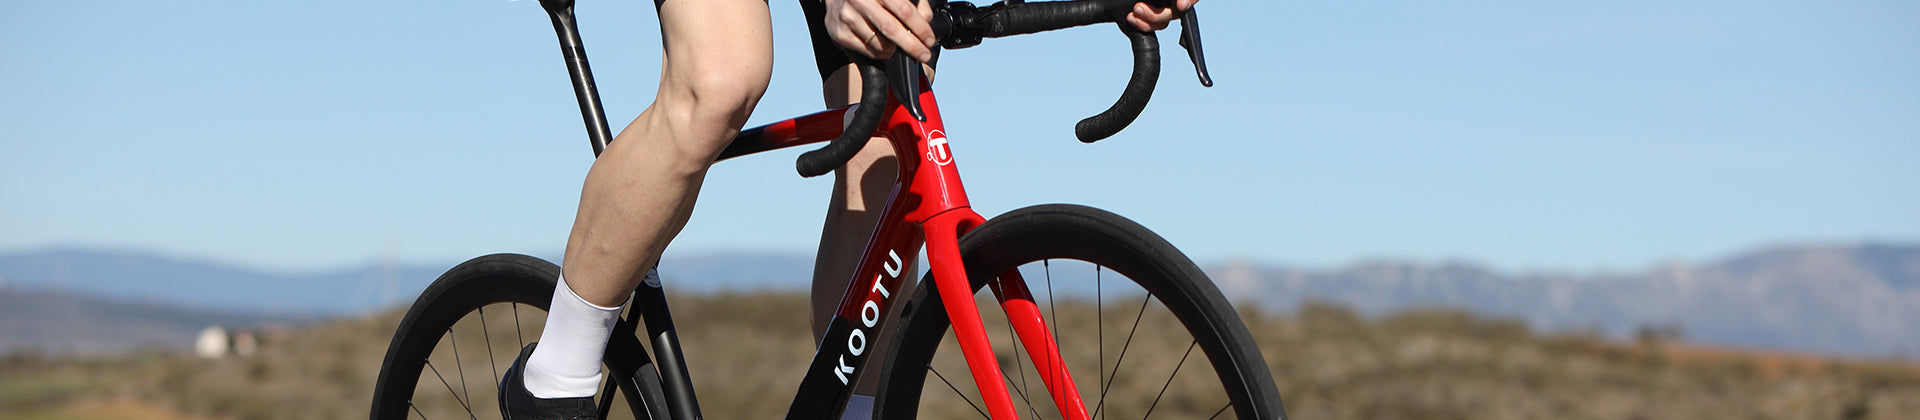


How to Fly with Your Bicycle?
For many cyclists, the dream of exploring new destinations on two wheels means taking your bike on an airplane. But before you roll into the airport, it’s important to know how to pack, protect, and check in your bike safely,especially if you own a carbon fiber road bike.
In this guide, we’ll walk you through everything you need to know about how to fly with a bicycle, from packing methods and airline rules to common mistakes to avoid.

🚴♂️ Why Proper Bike Packing Matters
A bicycle is not just another piece of luggage — it’s a precision-built machine. Airlines treat bikes as special or oversized sports equipment, and improper packing can easily result in damage during transport.
Whether you’re flying to a race, a training camp, or a cycling holiday, taking time to prepare your bike correctly can save you a lot of stress (and repair costs).
🧾 Step 1: Check Your Airline’s Bicycle Policy
Before your trip, visit your airline’s official website and read their sports equipment policy. Each airline has its own size, weight, and declaration rules.
Here are some common points to check:
Size limit: Most airlines allow a combined length + width + height of up to 203 cm (80 in).
Weight limit: Usually 23–30 kg (50–66 lb).
Advance notice: Some airlines require you to declare a bike 24–48 hours before your flight.
Fees: Some include bikes in your free baggage allowance, while low-cost airlines often charge extra.
📦 Step 2: Choose the Right Bike Packing Method
There are three main ways to pack your bike for air travel. Each has pros and cons:
1. Hard Case
Best protection against impact and crushing.
Ideal for carbon road bikes or frequent flyers.
Heavier and more expensive (around $150–$400).
2. Soft Bike Bag
Lighter and easier to store after arrival.
Add extra foam or clothing around the frame for protection.
Not recommended for rough handling or multiple transfers.
3. Cardboard Bike Box
Cheap (you can get one from a local bike shop).
Adequate for short trips if packed carefully.
Must be reinforced with padding to prevent movement.
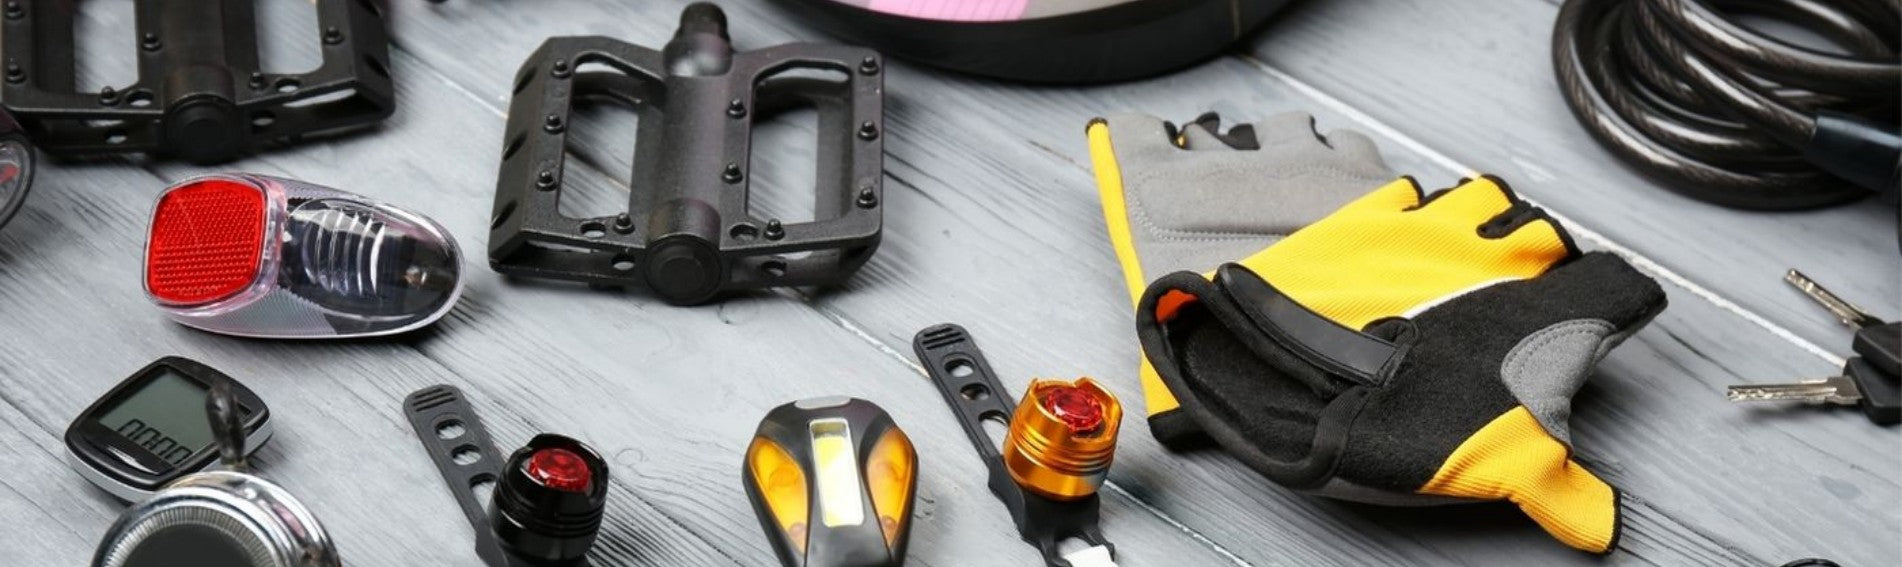
🧰 Step 3: How to Pack Your Bicycle
Remove the front wheel and secure it beside the frame.
Protect all removed parts with foam or bubble wrap.
Use zip ties or padding to keep everything from shifting inside the case.
Let some air out of the tires to reduce pressure changes during flight.(You can leave it at 20 PSI to ensure it can still be inflated if it's a tubeless tire.)
🧳 Step 4: Checking In at the Airport
When you arrive at the airport:
Go to the check-in counter and declare your bike as sports equipment.
It may be sent to the oversized baggage area for inspection.
Ask for a fragile label and take photos of the box before it’s sent off.
Upon arrival, bicycles are usually delivered to the special luggage section, not the regular carousel.
⚠️ Step 5: Common Mistakes to Avoid (Especially for Carbon Bikes)
Here are the biggest “don’ts” when flying with a carbon road bike:
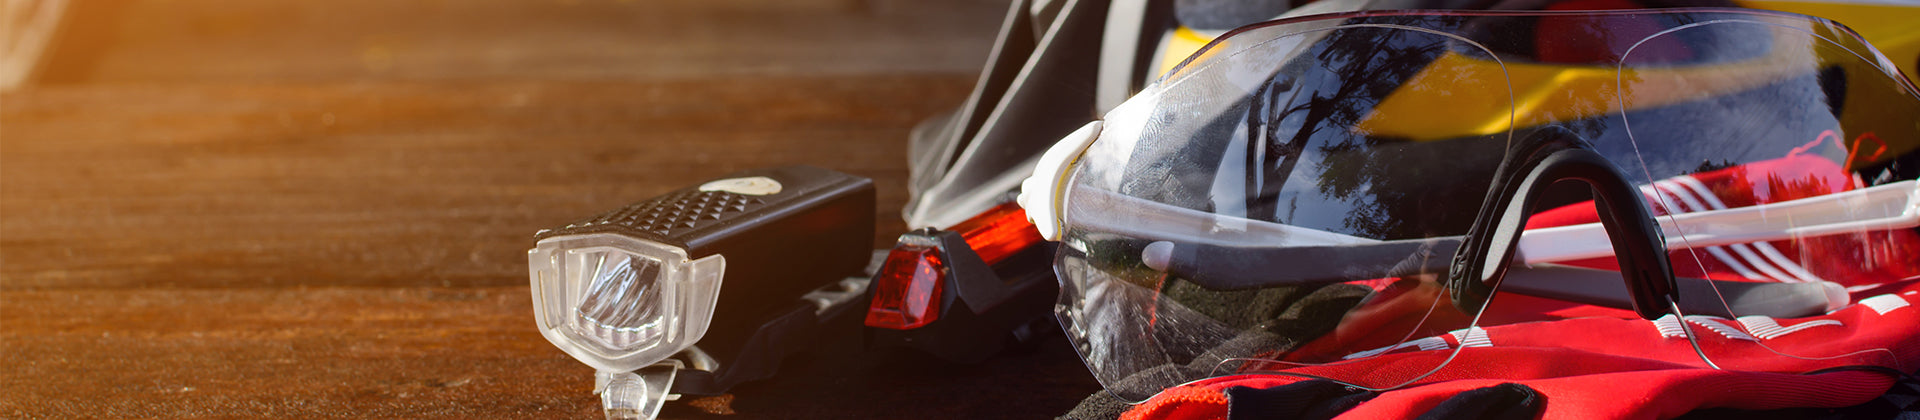
🔋 What About Pumps and CO₂ Cartridges?
Manual floor or hand pumps are safe to pack.
CO₂ cartridges are usually prohibited in checked luggage, though some airlines allow two small (≤16g) canisters in carry-on bags. Check in advance.
Electric pumps must have the battery removed and carried in hand luggage.
✅ Final Thoughts
Flying with your bike doesn’t have to be stressful. With the right preparation and packaging, your bicycle will arrive safe and ready to ride wherever your journey takes you.


