


Why Do Some Bike Handlebars Use 2 Bolts While Others Use 3?
Understanding Cycling Computer Mount Compatibility
If you’ve ever tried installing a cycling computer mount on a modern road bike, you may have noticed something frustrating: some handlebars use two mounting holes, while others use three. As a result, not every computer mount fits every cockpit.
So why does this happen? Is one system better than the other? And why hasn’t the cycling industry standardized it yet?
Let’s break it down.

The Purpose of the Mounting Holes
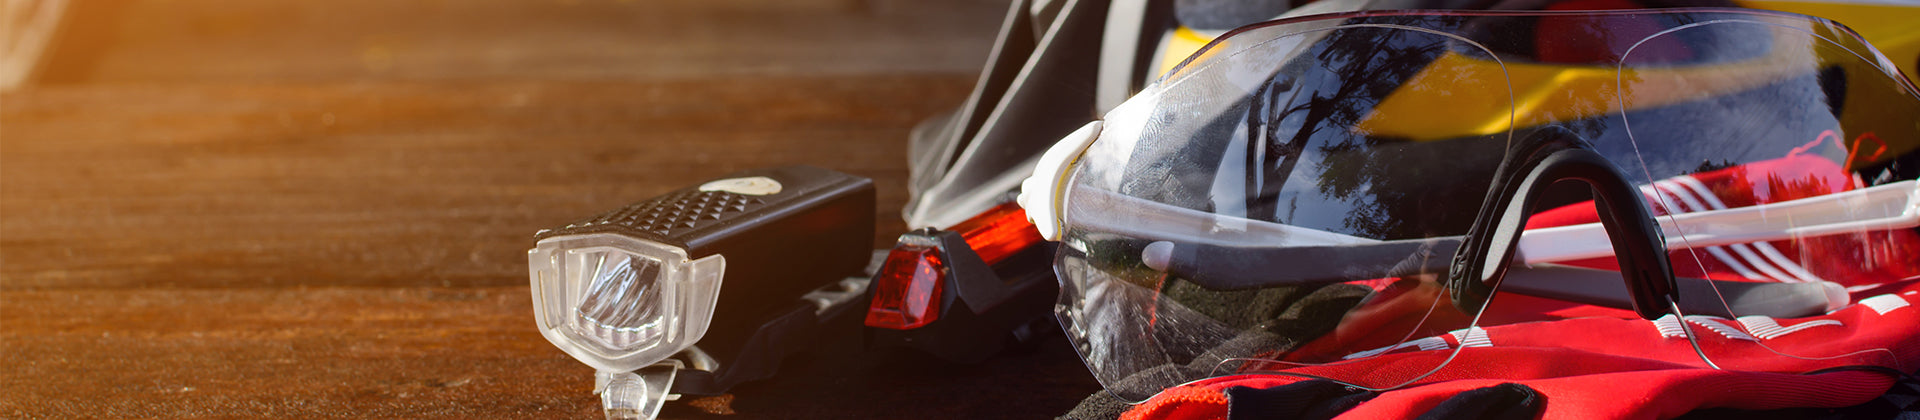
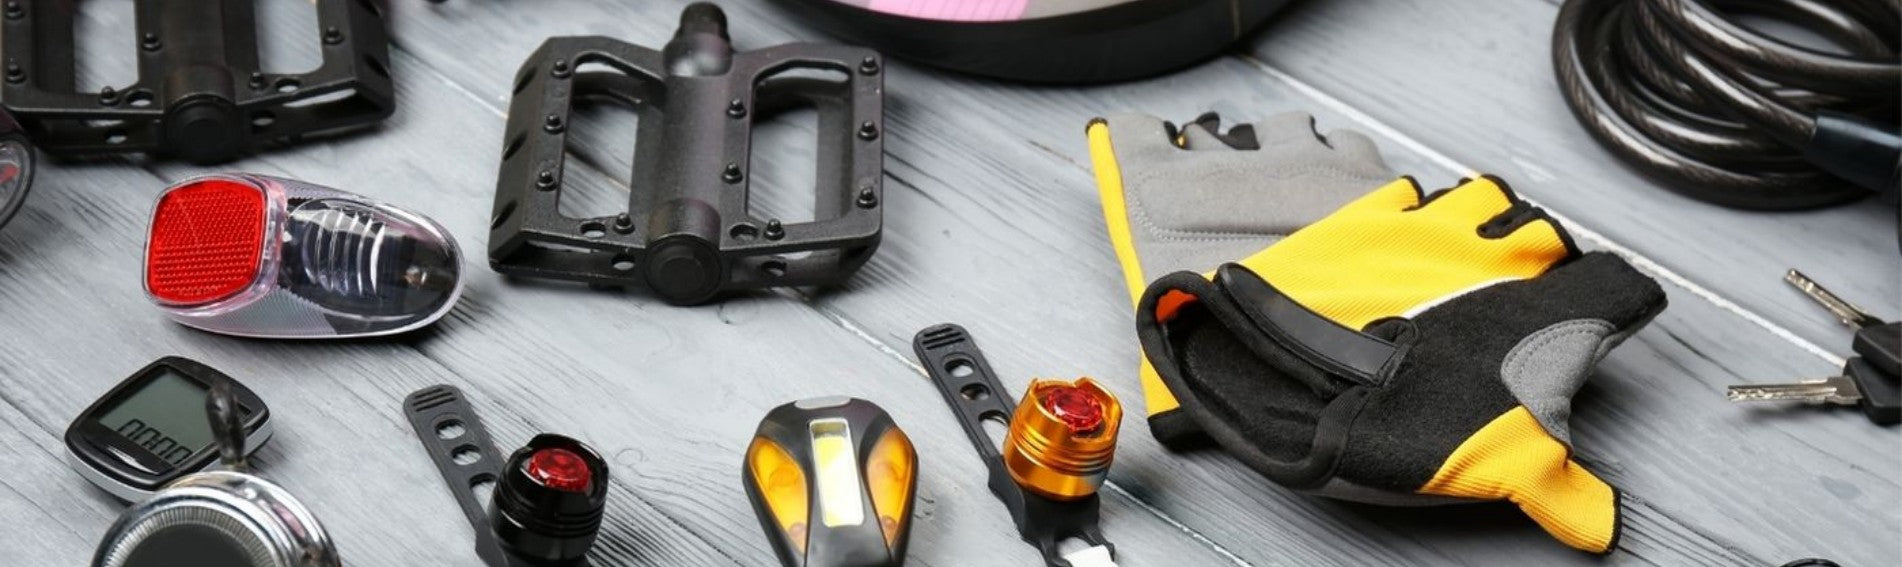
The holes underneath modern integrated handlebars or stems are designed for attaching accessories such as:
- Cycling computer mounts
- Action cameras
- Bike lights
- GoPro adapters
- Aero accessory brackets
These mounting points are typically located underneath the stem or integrated cockpit area for a cleaner aerodynamic appearance.
Why There Is No Universal Standard
Unlike bottle cage mounts or pedal threads, integrated cockpit accessory mounts currently have no universal industry standard.
Every brand designs its own system based on:
- Aerodynamics
- Weight reduction
- Structural stiffness
- Internal cable routing
- Visual design
As a result, brands use different:
- Bolt patterns
- Hole spacing
- Mounting angles
- Bolt sizes
- Curvature designs
This is why a computer mount designed for one cockpit often won’t fit another.
2-Bolt vs 3-Bolt Designs
2-Bolt Systems
Two-bolt mounting systems are the most common design found on many modern road bikes and integrated cockpits.
Advantages:
- Lightweight
- Simple design
- Easy installation
- Sufficient for most cycling computers
Many integrated handlebars from performance road bikes use this setup because it balances strength and weight effectively.
3-Bolt Systems
Three-bolt systems are generally designed for additional stability and support.
They are often used when riders want to mount:
- Larger cycling computers
- Action cameras
- Heavier accessory combinations
Advantages:
- Increased rigidity
- Better vibration resistance
- More secure positioning on rough roads
This design is especially useful for riders using larger aero mounts or filming equipment.
Why Compatibility Becomes a Problem
Even if two handlebars both use a 2-bolt design, they still may not be compatible with the same mount.
That’s because compatibility also depends on:
- Bolt spacing
- Thread type
- Mounting depth
- Cockpit curvature
- Mount angle
For example:
- One cockpit may use a 20mm bolt spacing
- Another may use 22mm or 24mm
Even a small difference can prevent installation.
Integrated Cockpits Changed Everything
Traditional road bikes used:
- Round handlebars
- Separate stems
Computer mounts could simply clamp onto the bars.
However, modern aero bikes increasingly use:
- Fully integrated carbon cockpits
- Hidden cables
- Proprietary aerodynamic shapes
These designs improve:
- Aerodynamics
- Clean appearance
- Front-end stiffness
But they also reduce universal compatibility.
As a result, many brands now require dedicated or model-specific computer mounts.
Why Some Riders Get Confused
This issue is especially common with:
- Aero road bikes
- OEM integrated handlebars
- Carbon cockpits from different manufacturers
Many riders assume:
“2 bolts means universal compatibility.”
Unfortunately, that’s not true.
Before buying a cycling computer mount, riders should check:
- Exact cockpit model
- Bolt spacing
- Mount specification
- Brand compatibility list
Is One System Better Than the Other?
Not necessarily.
2-Bolt Designs
Best for:
- Lightweight setups
- Minimalist road builds
- Standard cycling computer use
3-Bolt Designs
Best for:
- Heavier accessories
- Action camera setups
- Extra stability needs
The “better” option depends on the rider’s setup and intended use.
Final Thoughts
Modern integrated cockpits have improved the appearance and aerodynamic performance of road bikes, but they have also introduced compatibility challenges for accessories like cycling computer mounts.
Whether your handlebar uses 2 bolts or 3, the most important thing is understanding that:
compatibility depends on the specific cockpit design, not just the number of bolts.
Before purchasing a mount, always verify:
- Bolt spacing
- Cockpit compatibility
- Intended accessory weight
Doing so will save you time, money, and frustration — while ensuring a cleaner and more secure setup on your bike.


