

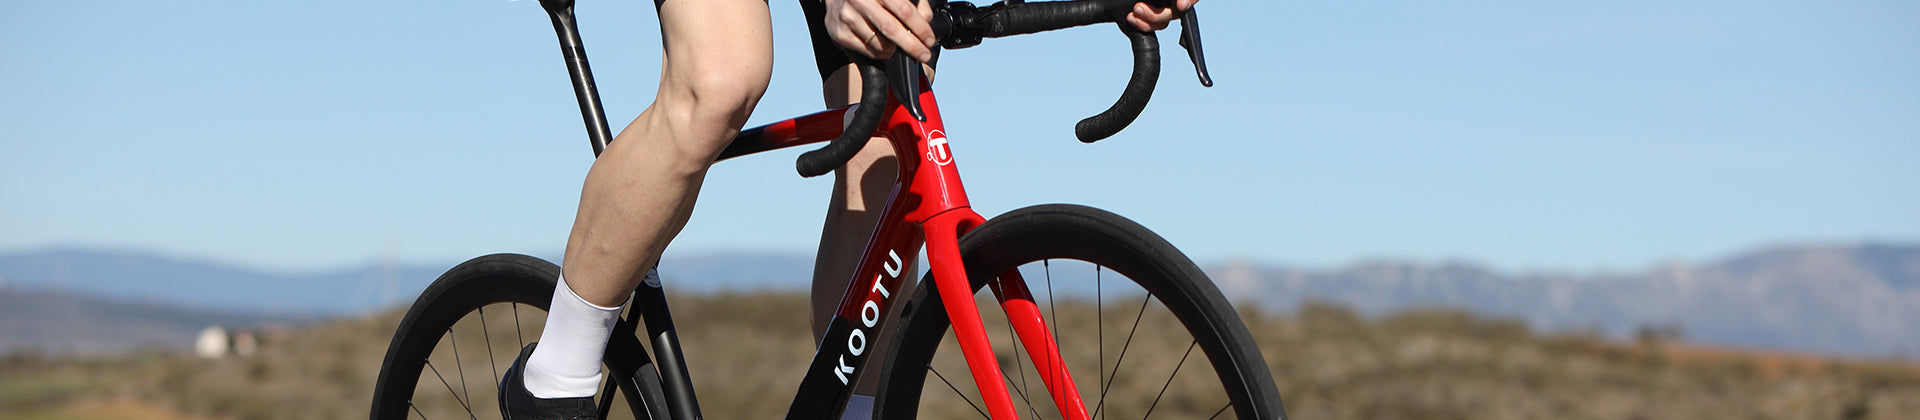


How to Replace a Bicycle Inner Tube After a Flat Tire
A flat tire is one of the most common problems cyclists face. The good news is that replacing an inner tube is a simple skill every rider can learn. Whether you're riding a road bike, gravel bike, or commuter bike, knowing how to fix a flat can save your ride and get you back on the road quickly.
In this guide, we’ll walk you through the step-by-step process of replacing a bicycle inner tube safely and correctly.

What You’ll Need
Before starting, prepare the following tools:
- Tire levers
- A new inner tube
- A floor pump or mini pump with a pressure gauge
- Gloves (optional)
Step 1: Remove the Wheel
If the flat tire is on the rear wheel:
- Shift the drivetrain into the smallest rear cog before removing the wheel.
- This reduces chain tension and makes wheel removal easier.
Then:
- Open the thru-axle or quick-release skewer
- Remove the wheel from the bike
Step 2: Fully Deflate the Tire
If there is still air inside the tube:
- Completely deflate it first
Then:
- Remove the valve cap and valve lock ring if your wheel has one
Step 3: Remove One Side of the Tire
Using your hands or tire levers:
- Pry one side of the tire bead off the rim
You only need to remove one side of the tire to replace the tube.
Step 4: Remove the Damaged Inner Tube
Start opposite the valve stem and carefully pull the inner tube out.
When you reach the valve:
- Pull the valve stem straight out of the rim
⚠️ If the tube has been inside the tire for a long time, it may slightly stick to the tire. Remove it slowly to avoid tearing.
Step 5: Check the Inside of the Tire
This is one of the most important steps.
Carefully inspect the inside of the tire for:
- Glass
- Thorns
- Small metal wires
- Sharp debris
Run your fingers gently along the inside of the tire to ensure nothing sharp remains.
❗If you skip this step, the new tube may puncture immediately.
Step 6: Slightly Inflate the New Inner Tube
Before installation:
- Add a small amount of air to the new tube
This helps:
- Prevent twists
- Reduce the risk of pinching the tube during installation
Step 7: Install the New Inner Tube
First:
- Insert the valve stem into the valve hole in the rim
Then:
- Tuck the rest of the tube evenly inside the tire
Make sure the tube sits naturally without twists.
Step 8: Reinstall the Tire
Starting opposite the valve:
- Push the tire bead back onto the rim using your hands
As you work around the wheel:
- Keep the tire centered in the rim channel
If the last section feels tight:
- Squeeze the tire toward the center of the rim to create more slack
⚠️ Avoid using tire levers for the final section whenever possible, as they can pinch and damage the new tube.
Step 9: Check for Pinched Tubes
Before inflating:
- Inspect both sides of the tire carefully
Make sure:
- No part of the inner tube is visible
- The tire bead is evenly seated around the rim
Step 10: Inflate to the Correct Tire Pressure
Use a pump with a pressure gauge and inflate the tire to the recommended pressure.
Typical road bike tire pressure:
- 70–100 PSI
(depending on tire width and rider weight)
Always check the pressure range printed on the tire sidewall.
Final Thoughts
Learning how to replace a bicycle inner tube is an essential skill for every cyclist. With a little practice, the process becomes quick and easy, whether you're repairing a flat at home or during a ride.
By following the correct steps and carefully checking the tire before installation, you can avoid repeated punctures and enjoy a smoother, safer ride.


